A green laser pointer in the accessory shoe for the telescope makes a great visual aid!
Green Laser Pointer
I purchased a Feyachi Tactical Green Dot Laser Sight a while ago from Amazon. It has since been replaced with the product at that link. You can find a similar one at this link instead. While it appears to be similar, I cannot say it is exactly the same so your mileage may vary. In addition to the laser sight, I also 3D printed an adapter to be able to mount the Picatinny sight into a Synta-style finder shoe. That's the small accessory shoe on top of most Time Machines that lets you mount a smaller "finder scope" onto your main scope. The smaller finder scope has a wider field of view so you can more easily find what you're looking for, then dial in the accuracy through the higher magnification main scope.
 With this combo, I was able to mount the laser pointer such that its beam was very co-linear to the primary axis of the main scope. This means that when I turn on the laser pointer, it points pretty close to where the scope is pointed at. In this case, the SVBONY SV503 102mm/f7 refractor. And what a great tool that ends up being! Not for astrophotography, specifically, but because my Sky-Watcher EQ6R-Pro mount sometimes gets jostled around when I'm rearranging things in my SkyShed POD XL-5 Personal Observation Dome. And rather than mess around with properly polar aligning and making sure everything is perfect, I just fire up the laser pointer and adjust the mount until it's aimed back at Polaris and I'm magically within less than a degree of polar alignment. Good enough for what I need!
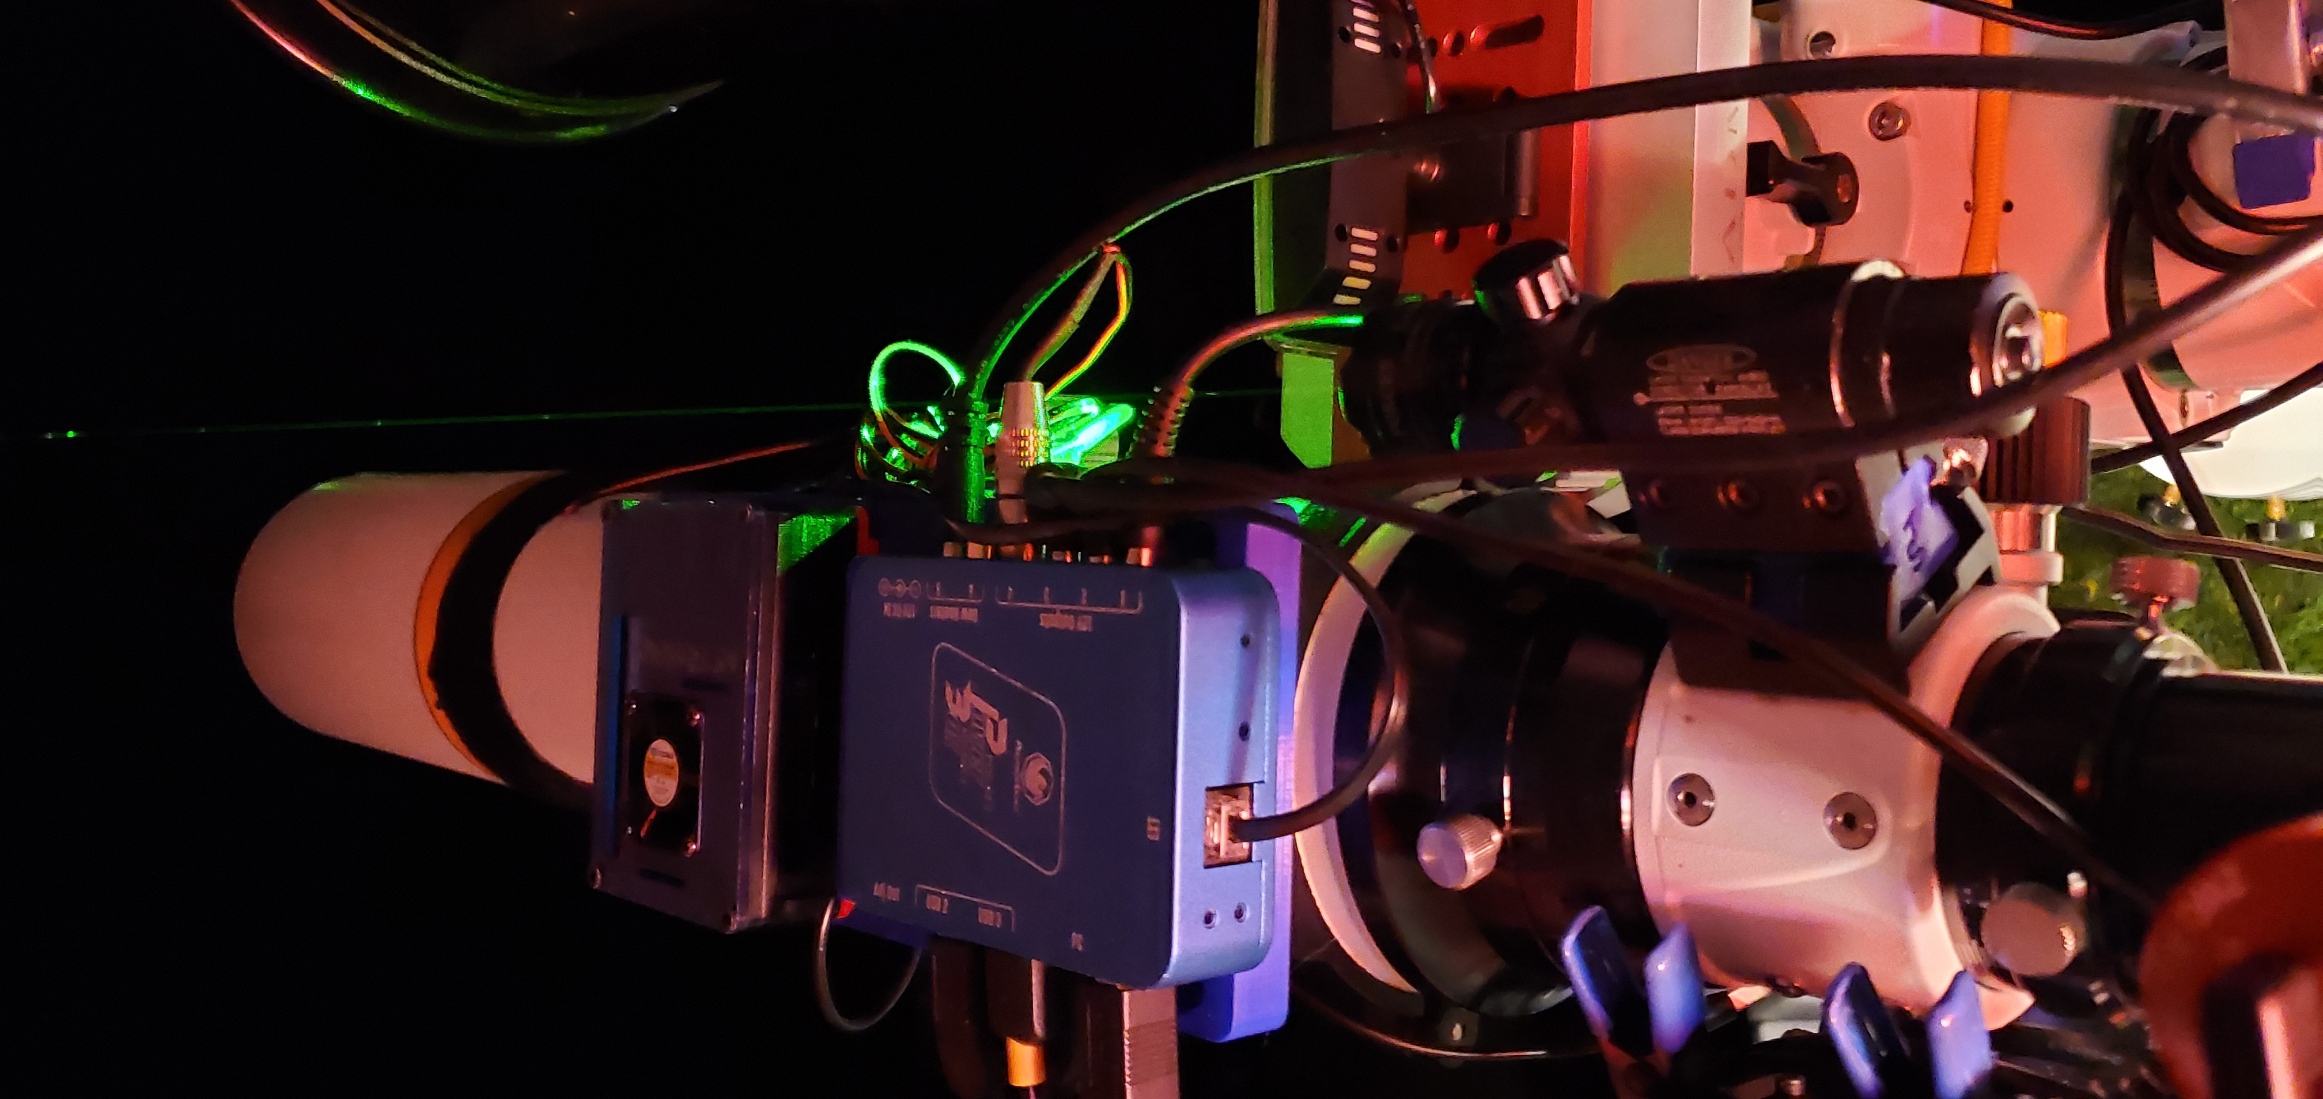
This image shows the laser beam emitting straight down the side of the SV503, aiming into space, and almost piercing Polaris, the North Star. This is not going to be good enough for award-winning, jaw-dropping photographs that take weeks to image, but it will be good enough for three to four hours of imaging from my yard. The best part is that the laser sight comes with two power switches. One that screws into the back of the unit and a second one a "rat tail" coiled cable that has a pressure switch on it. Both of these are great for tactical use, but instead, since taking this picture, I cut off the rat tail pressure switch and wired a 2N2222A NPN transistor to one of the GPIO outputs on my Raspberry Pi and now I can have the Pi turn the laser on and off.
What a great time to be an Astropotamus!